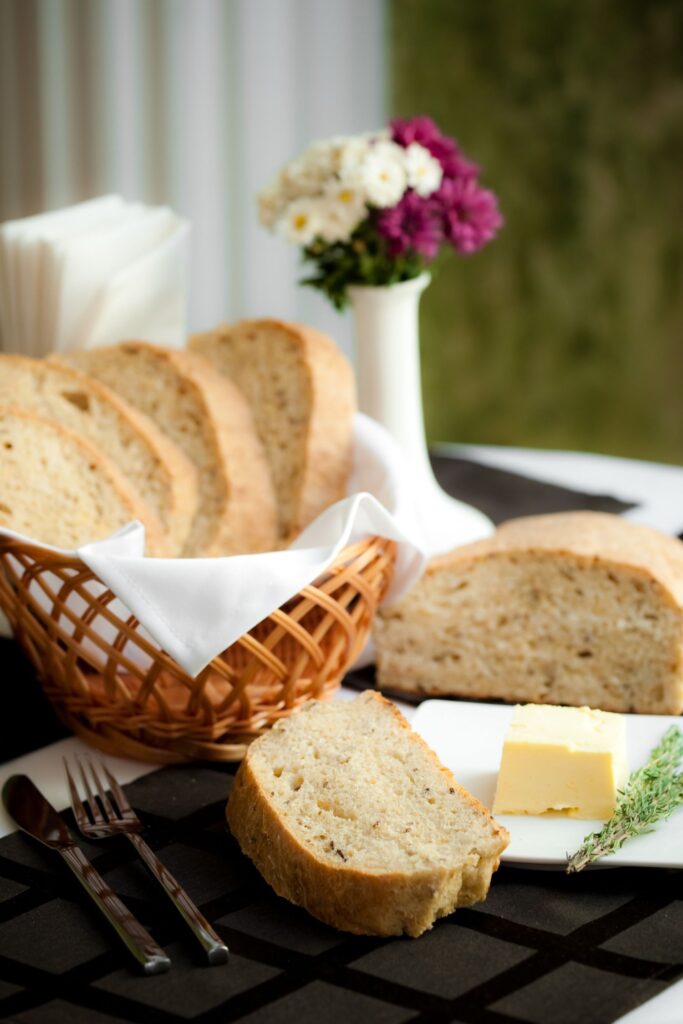
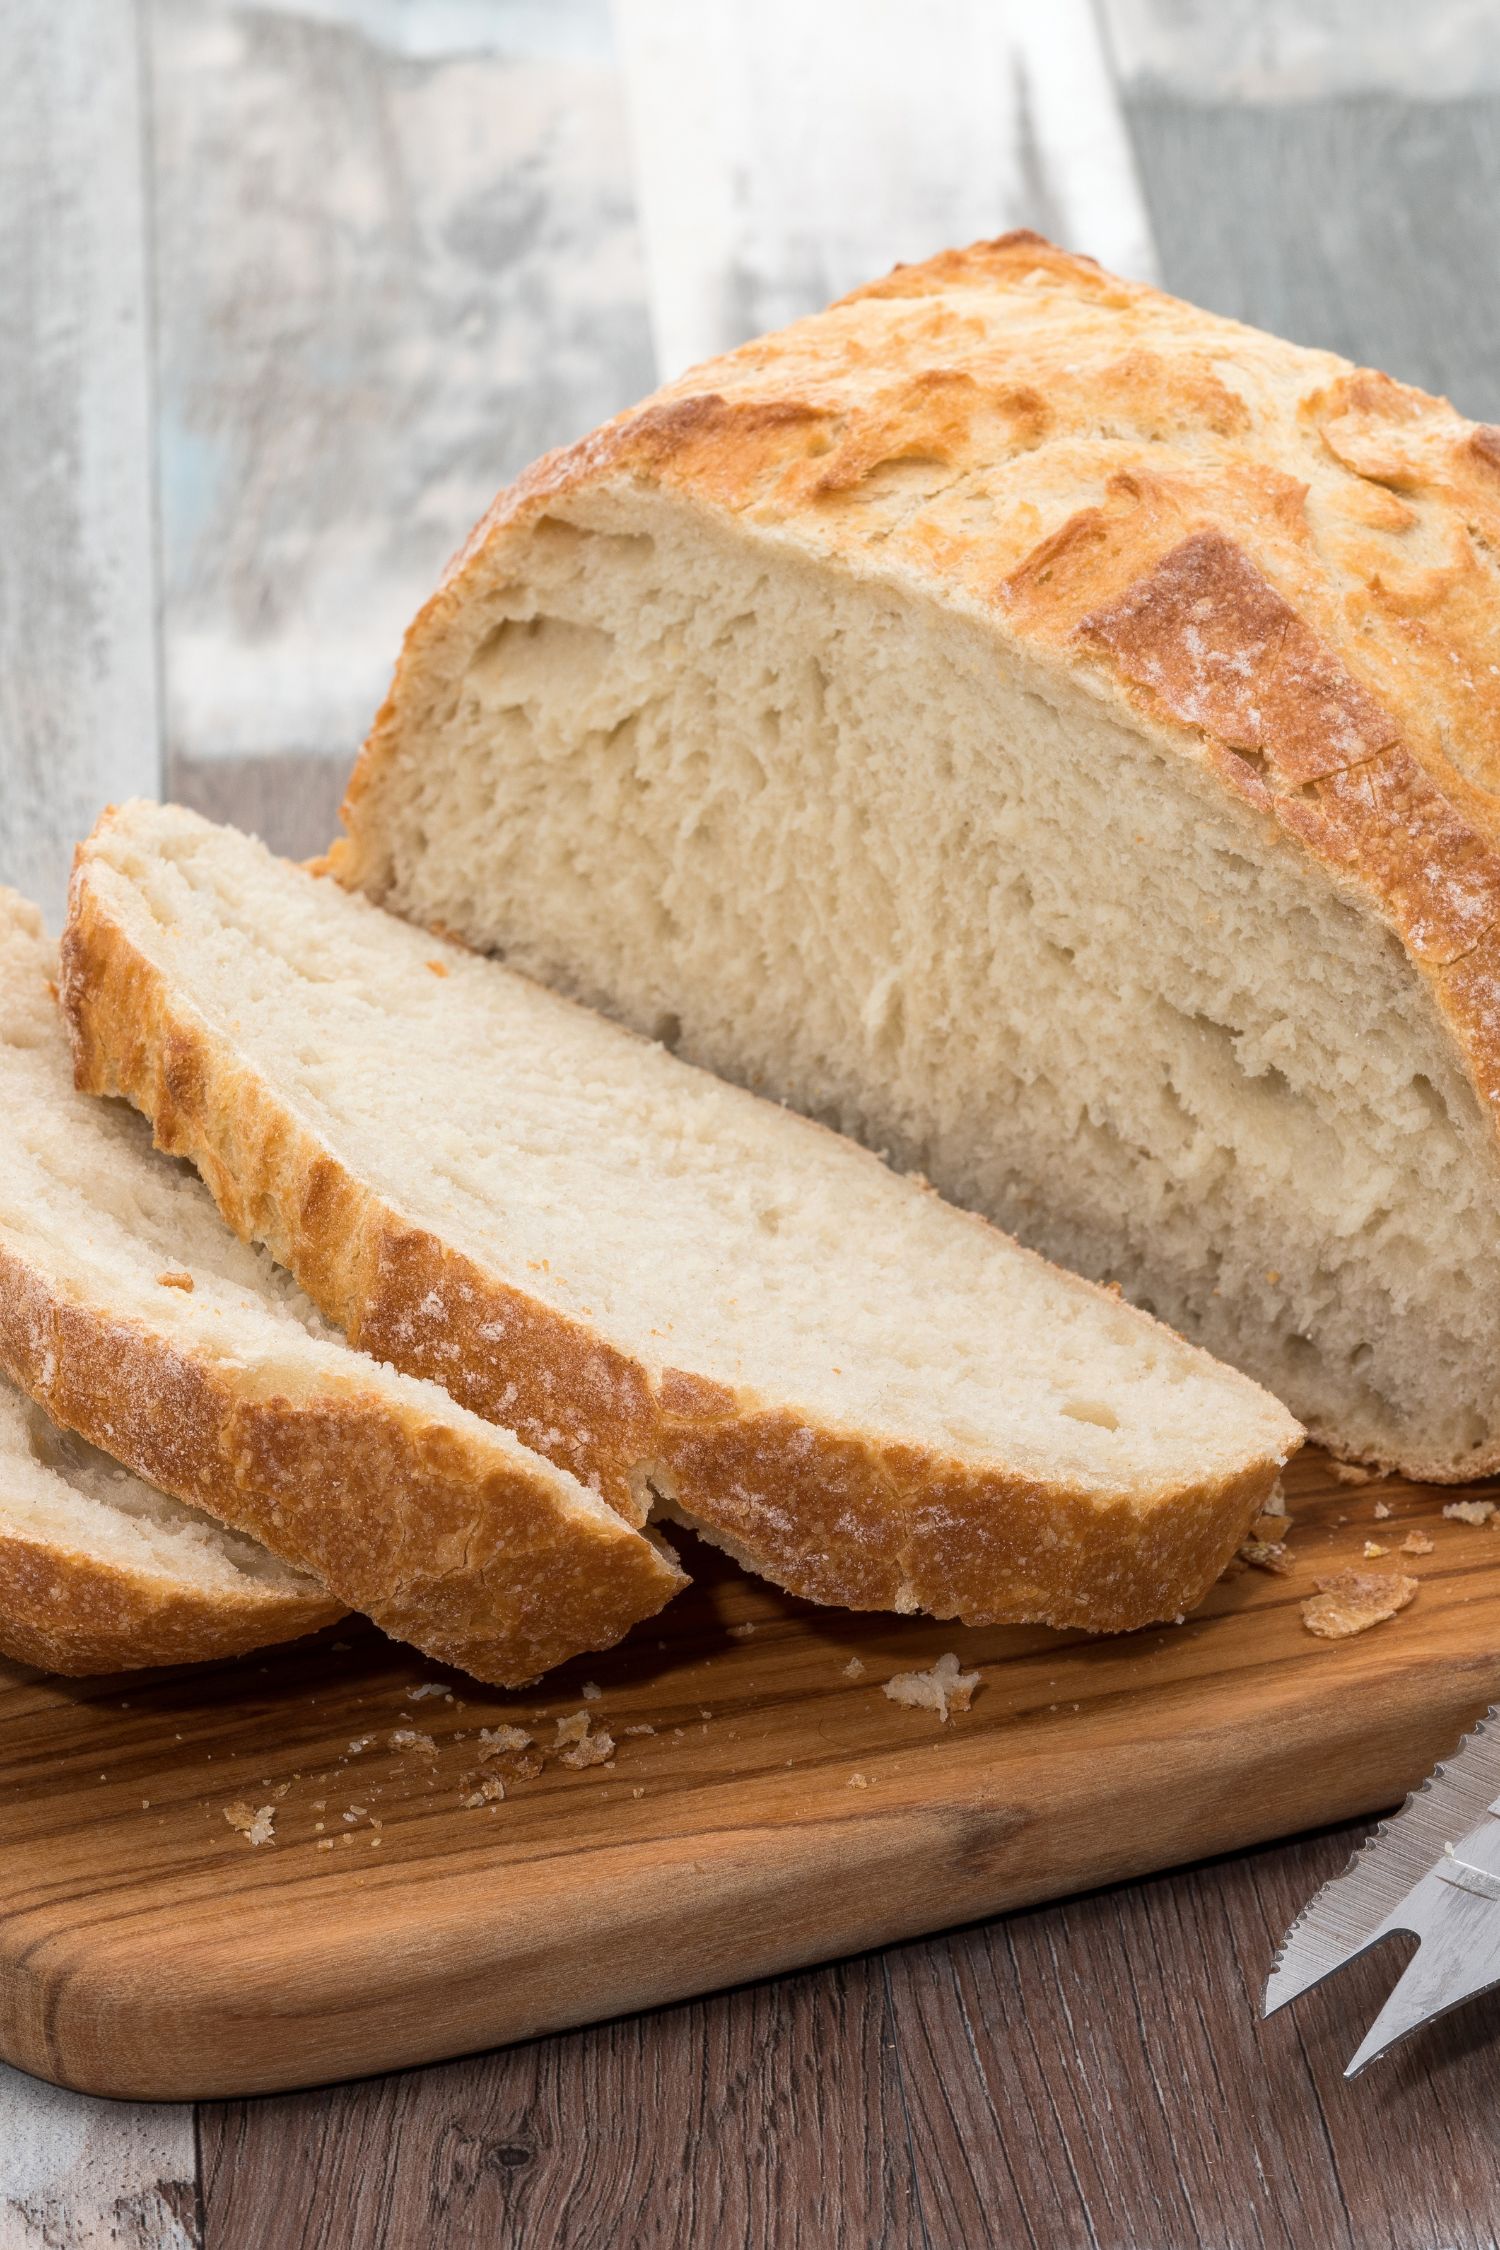
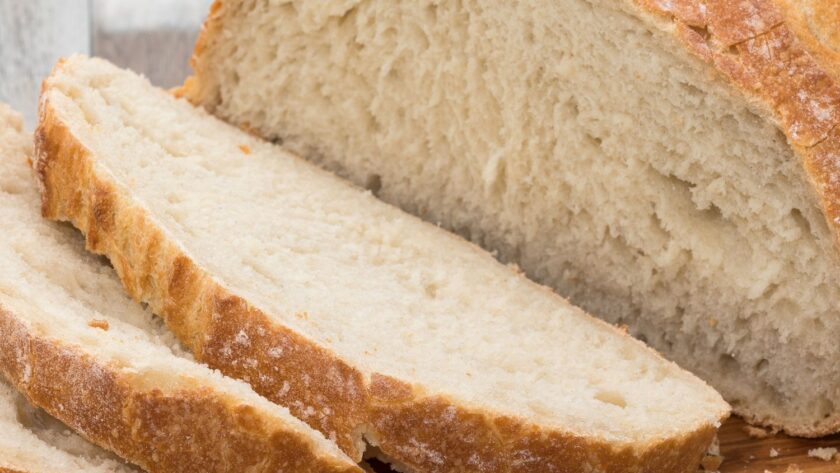
Few things evoke pure comfort like the smell of freshly baked bread, and Mary Berry’s White Bread recipe captures that magic beautifully. I’m always drawn back to the simple joy of making bread from scratch: the satisfying kneading, the patient waiting, and the ultimate reward of a warm, fluffy loaf. Mary Berry, the beloved British chef, has crafted a white bread recipe that is both approachable and outstanding, perfect for everything from hearty sandwiches to Sunday morning toast.
Today, whether you’re seeking an easy white bread recipe, a Mary Berry classic, or simply want to enjoy the wholesome art of breadmaking, this is the loaf that delivers every time. Think of it as a foundation piece for your kitchen: a timeless, special occasion or everyday bake that’s easy, therapeutic, and delicious.
Why You’ll Love This White Bread Recipe
- Achieves a light, fluffy crumb without complicated steps
- Uses everyday pantry ingredients you already have
- Smells incredible while baking: pure homemade comfort
- Versatile for sandwiches, toast, or simply with butter
- No preservatives: healthier and fresher than store-bought loaves
Ingredients for Mary Berry’s White Bread
- 2 cups warm water (105-115°F): essential for activating the yeast
- 1 tablespoon active dry yeast: helps the bread rise perfectly
- 1/4 cup honey or sugar: feeds the yeast and adds a gentle sweetness
- 2 teaspoons salt
- 2 tablespoons oil (canola or vegetable): keeps the bread moist and tender
- 4 to 5 1/2 cups all-purpose or bread flour: builds structure and chew
How To Make Mary Berry’s White Bread
- Proof the yeast: In a large bowl or stand mixer, combine warm water, yeast, and a pinch of honey or sugar. Let sit for 5-10 minutes until foamy. If it doesn’t foam, start over with new yeast.
- Mix initial ingredients: Add 1 cup of flour, the remaining honey or sugar, salt, and oil. Mix until combined.
- Incorporate more flour: Gradually add additional flour, mixing between each addition, until the dough pulls away from the sides of the bowl and feels smooth yet slightly tacky.
- Knead the dough: Knead by mixer for 4-5 minutes or by hand on a floured surface for 8-10 minutes, until the dough is elastic.
- First rise: Place the dough in a lightly oiled bowl, turning once to coat. Cover with plastic wrap or a tea towel and let rise in a warm place for 1 to 1.5 hours until doubled.
- Shape the loaves: Punch down the dough, divide into two equal parts, and shape into tight logs.
- Second rise: Place each log into a greased 9×5-inch loaf pan. Cover with greased plastic wrap and let rise until the dough peaks about 1 inch over the pan rim, about 45-60 minutes.
- Bake: Preheat the oven to 350°F. Bake loaves for 30-33 minutes until golden brown. Tap the tops: a hollow sound means they’re done.
- Cool: Remove loaves from pans and cool on a wire rack. Brush the tops with butter for a soft, glossy finish. Let cool at least 10 minutes before slicing.

Common Mistakes to Avoid
- Using water that’s too hot or cold when proofing yeast
- Adding too much flour, making the dough dense
- Under-kneading the dough: knead until truly elastic
- Over-proofing the second rise: watch carefully so the dough does not collapse
- Not cooling the bread properly before slicing, which can result in gummy texture
Storage and Reheating Instructions
- Room Temperature: Store in an airtight container or bread bag for 3-4 days.
- Freezing: Slice, wrap tightly, and freeze for up to 3 months.
- Reheating: Toast slices directly from frozen or rewarm a whole loaf wrapped in foil at 350°F for 10-15 minutes.
FAQs
Q: What makes white bread light and fluffy?
A: Proper kneading, active yeast, sufficient rising time, and not overworking the dough are key to a soft and airy crumb.
Q: Can I let bread rise longer for even fluffier results?
A: Yes, a longer rise allows more gas production, creating a lighter bread, but avoid over-proofing which can weaken the structure.
Q: Why is my white bread dense?
A: It’s often due to insufficient kneading, expired yeast, or too much flour added too quickly.
Q: What should I do if my bread isn’t rising?
A: Check that your yeast is active and your proofing environment is warm enough. Cold temperatures can slow or halt yeast activity.
Q: How do I know when the bread is fully baked?
A: It should be golden brown, sound hollow when tapped, and have an internal temperature of 190-200°F.
Nutrition Facts (Per Serving)
- Calories: 202 kcal
- Sugar: 3g
- Carbohydrates: 41g
- Protein: 5g
- Fat: 2g
- Sodium: 196mg
Try More Recipes:

Mary Berry White Bread Recipe
Description
Soft, fluffy white bread made with simple ingredients: perfect for sandwiches, toast, or enjoying fresh from the oven.
Ingredients
Instructions
- Proof yeast with warm water and sugar or honey.
- Mix in salt, oil, and most of the flour.
- Gradually add flour until dough forms and pulls away.
- Knead for 4-5 minutes by machine or 8-10 minutes by hand.
- First rise in a greased bowl until doubled.
- Shape into two loaves and place in greased pans.
- Second rise until dough domes over pans.
- Bake at 350°F for 30-33 minutes.
- Cool on wire racks, brush with butter if desired.
Notes
- Using water that’s too hot or cold when proofing yeast
- Adding too much flour, making the dough dense
- Under-kneading the dough: knead until truly elastic
- Over-proofing the second rise: watch carefully so the dough does not collapse
- Not cooling the bread properly before slicing, which can result in gummy texture


one “tablespoons” of yeast??? should this be teaspoon?
It’s tablespoons, becouse we used alot of flour 4 to 5 1/2 cups.