There’s something wonderfully old-fashioned about making jam, isn’t there? Like you’re stepping into your nan’s apron for the day, even if you’re wearing joggers and dodging emails in between. The kitchen fills up with this soft perfume of warm fruit and sugar — that thick, almost honeyed scent that sticks in your nose hours later.
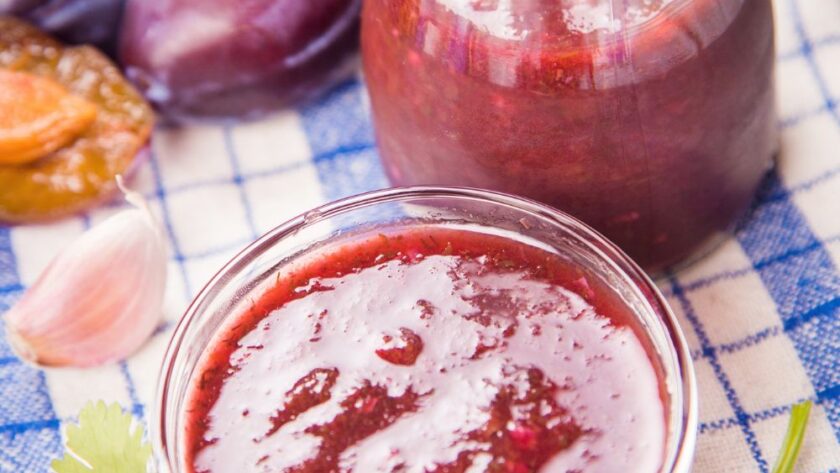
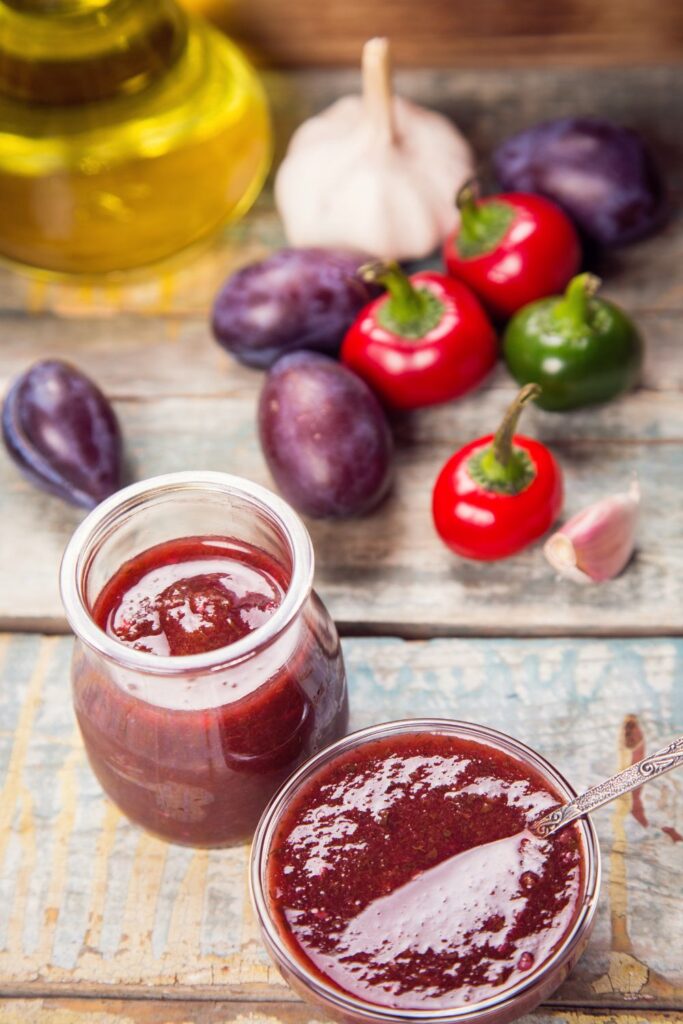
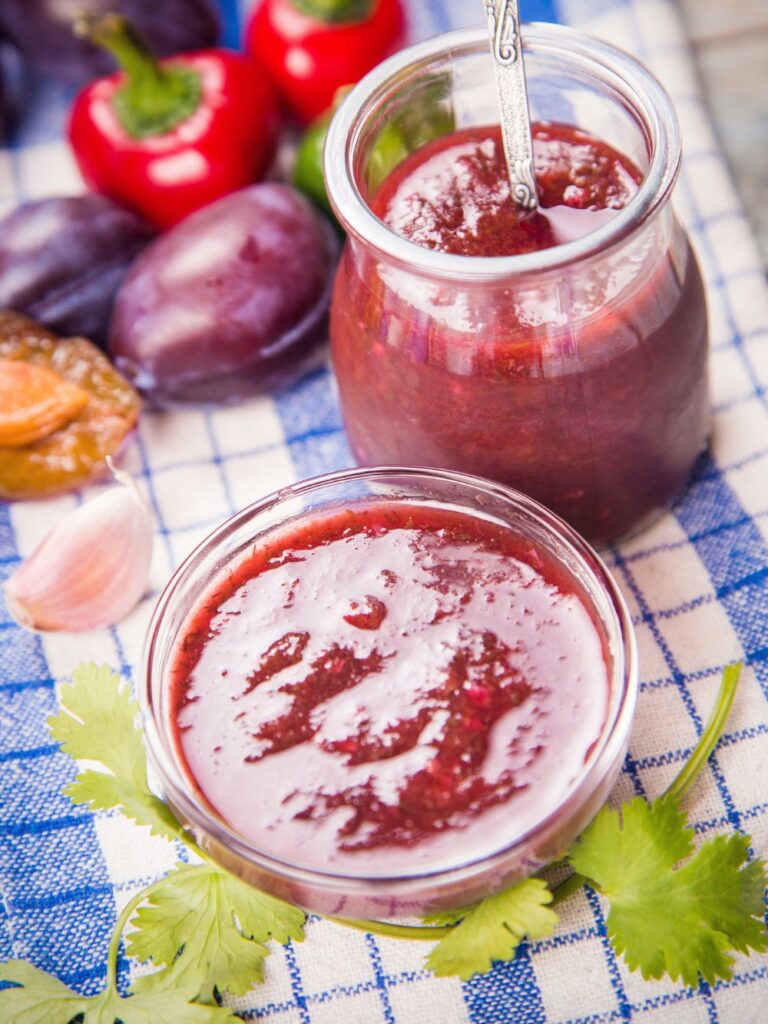
I first made this Delia Smith plum jam on a sleepy Sunday when I bought far too many plums from a farmer’s market because they were “just too pretty to leave.” I didn’t know what I was doing, burned the first batch slightly (don’t worry, I’ll help you dodge that), but still ended up with jars of deep ruby jam that made the next few months feel a little more generous.
This isn’t complicated jam-making. It’s rustic and real. Just plums, sugar, time, and a bit of patience. And when you spread it on warm toast or tuck it into a sponge cake — oh, it’s joy.
Why You’ll Love It
- No pectin, no faff — just plums and sugar, the old-fashioned way
- Tastes like summer in a jar — rich, fruity, slightly tart
- Keeps for months — if you can resist eating it all in a week
- Perfect gift — a homemade jar always wins hearts
- Makes breakfast feel special — even if it’s just Tuesday
- A little messy, very satisfying — the best kind of kitchen job
Ingredients
- 12 lbs sweet, ripe plums, rinsed
- 4 ½ cups white sugar
- 8 pint-sized jars with lids
How to Make It
Slice, pit, and sugar those plums:
Chop your plums in half and remove the pits — yes, all of them (it’s a bit of a job but put on a podcast). Toss them into a big bowl and cover with the sugar. Stir to coat everything, then let them sit for about an hour so the juices start flowing.
First simmer — bring on the bubbles:
Tip the whole sweet, syrupy mess into a big heavy-bottomed pot. Turn the heat to medium-high and bring it to a proper boil. Stir every so often so nothing sticks or catches on the bottom.
Let it mellow — but do it four times:
Once it’s bubbling, let it simmer for 10 minutes. Then turn off the heat. Let it cool until you can touch the pot without flinching. Now — here’s the weird part — do that exact step again three more times. Heat, bubble, cool. It’s slow, but that’s how you build real jam body.
Prep your jars the proper way:
While your jam does its thing, wash your jars and lids in warm soapy water. Stick the jars in the oven at 215°F (about 100°C) for 20 minutes until nearly dry. Boil the lids separately for 5 minutes. This step makes sure your jam doesn’t go funky.
Final cook and fill:
On the last round, let the jam boil again and stir gently so it doesn’t burn — the sugar will be thicker now. Once it hits that glossy, syrupy texture, pour the hot jam into warm jars (a funnel helps). Leave about ½ inch at the top.
Seal and wait:
Screw the lids on firmly (but don’t Hulk it), then pop them into a big pot of boiling water for 15 minutes to process. Once they’re out, leave them undisturbed for 12–24 hours. You’ll hear the little pop when they seal — it’s magic.
Common Mistakes and How to Dodge Them
Why is my jam too runny?
It probably didn’t cook long enough, or the plums weren’t quite ripe. Give it more simmer time or let it reduce longer next round.
My jam’s gone too thick!
That’s overcooked sugar for you. Try gently heating it with a splash of water before serving.
The lid didn’t pop. What now?
No stress. Just pop that jar in the fridge and eat it within a few weeks. It’s still jam, just not shelf-stable.
Is it supposed to take this long?
Yes. Jam is a slow dance. If you rush it, it won’t set properly or the flavour won’t be as deep. Trust the process — stir gently, boil in rounds, and you’ll get there.
Storage and Reheating
Fridge:
Once opened, keep it chilled and eat within 2–3 weeks.
Freezer:
Jam in jars? Not great in the freezer. But extra plum pulp before sugar? Absolutely freeze it.
Reheating:
You don’t really need to — it’s perfect as-is. But you can warm a bit in the microwave for pancakes or to drizzle over ice cream.
Frequently Asked Questions
What kind of plums should I use?
Go for whatever’s ripe and sweet — Victoria, damsons, even yellow ones. Just make sure they’re soft and juicy.
Can I use less sugar?
Technically yes, but it may not set properly or keep as long. Jam’s a sweet business.
Do I have to do the four rounds of boiling?
Look, technically no. But it really does build flavour and body. If you’re in a rush, you can boil longer once — but watch it like a hawk.
Can I skip sterilising the jars?
Nope. This is the one bit you must do. Otherwise, bacteria will move in and ruin your beautiful jam.
Nutrition Facts (Per Serving)
- Calories: 74
- Fat: 0g
- Carbs: 19g
- Protein: 0g
- Sodium: 0mg
- Sugar: 17g
More Delia Smith Recipe:

Delia Smith Plum Jam Recipe
Description
Sticky, deep red plum jam with old-school sweetness and a rich fruit flavour — perfect on toast, in cakes, or spooned over ice cream.
Ingredients
Instructions
- Pit and halve the plums, mix with sugar, and let sit for 1 hour.
- Boil the mixture, then simmer for 10 minutes. Let it cool. Repeat this 4 times.
- Sterilise jars in the oven and boil lids for 5 minutes.
- After the final boil, pour hot jam into jars leaving ½ inch headspace.
- Seal with lids and process jars in boiling water for 15 minutes.
- Let sit undisturbed for 12–24 hours until sealed. Store or refrigerate if unsealed.
Notes
- Ripe, juicy plums make all the difference — underripe ones won’t break down as well.
- A jam funnel will save your sanity (and your counters).
- Don’t skip the processing step — it keeps the jam shelf-stable.
- If your jam doesn’t seal, just refrigerate and enjoy within a few weeks.