The first time I made cheese straws, I was about ten, standing on a rickety kitchen stool beside my gran. Her apron smelled of pastry and Dove soap, and the cheddar she used was so strong it made your nose wrinkle just opening the wrapper. We didn’t have a fancy cookie press — just a piping bag and sheer determination. The straws came out wildly uneven, some thick, some barely there. Still, we ate the lot before dinner and blamed it on the cat. Poor thing.
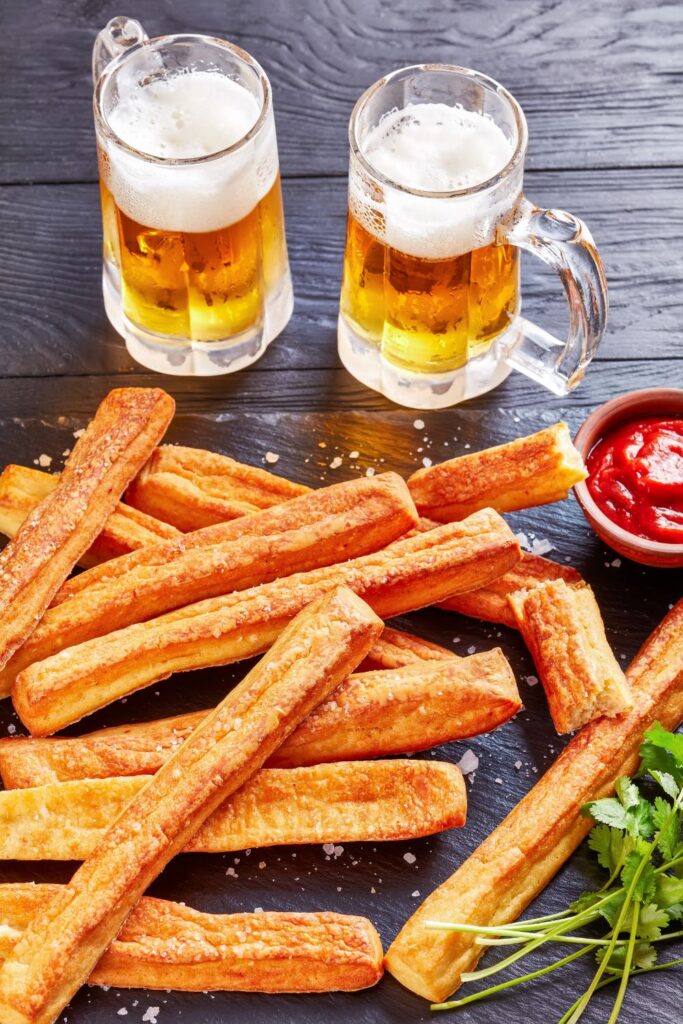
These Mary Berry cheese straws bring me right back to that floured countertop. They’ve got her signature balance — buttery, sharp, and just a little bit posh — but still simple enough for clumsy hands and old habits. Whether you’re hosting a drinks do or just want something salty and crisp for nibbling with tea, they hit the mark.
I don’t care what anyone says: warm cheese baked into a crunchy bite is a hug from the oven. And this recipe? It’s a keeper.
Why You’ll Love It
- Super quick: They bake in just 10 minutes (yes, really).
- Freezer-friendly: Bake ahead and stash a batch for last-minute guests.
- Bold flavour: That sharp Cheddar hits the spot every time.
- Crispy as anything: Light, golden, flaky — you’ll hear the crunch.
- No fancy gear needed: Cookie press optional, hands work fine.
- Properly moreish: You’ll nibble one and then suddenly six are gone. Oops.
Ingredients
- 1½ cups unsalted butter, softened
- 1 lb sharp orange Cheddar, shredded — the sharper, the better
- 1½ tsp salt
- 1–2 tsp ground red pepper — I start with 1½, personally
- ½ tsp paprika
- 4 cups all-purpose flour
How to Make It
Cream the good stuff:
Pop your butter, shredded cheddar, salt, red pepper, and paprika into a stand mixer. Beat it all on medium until smooth and glorious. It’ll look like spiced cheesy frosting — resist the urge to eat it by the spoonful.
Add the flour like you mean it:
Gradually spoon in the flour while mixing on low. Stop once it just comes together — don’t overbeat it. You want a soft, pliable dough that holds its shape, not a brick.
Shape your straws (with or without fuss):
If you’ve got a cookie press with a star tip, fab — it gives that proper look. Pipe ribbons onto parchment-lined trays and snip them to about 2 inches. No press? Roll the dough into thin logs or flat strips — rustic is charming.
Preheat or regret it later:
Set your oven to 350°F (175°C). If you’re anything like me, you’ve forgotten this step at least once and ended up waiting with a tray of dough and no heat. Don’t be that person today.
Bake till golden and puffed:
Slide your trays in and bake for around 10 minutes. Keep an eye — you’re aiming for a soft golden brown, not deep bronze. They’ll crisp as they cool.
Cool (briefly) then demolish:
Transfer to wire racks and try, truly try, to let them cool. Warm cheese straws are temptation incarnate.
Common Mistakes and How to Dodge Them
Why are my cheese straws floppy?
You probably underbaked them. They need to set and crisp up, not just melt.
Why are mine crumbly and dry?
Too much flour or overmixing. Go gently once the flour goes in — less is more.
Why won’t my dough pipe nicely?
Could be too cold. Let it sit out a few minutes if stiff, or warm it in your hands like playdough.
Why don’t they taste cheesy enough?
Mild cheddar won’t cut it. Use a strong block cheddar — orange or white, just sharp.
Confession — I once used margarine.
Don’t. Just… don’t. The texture was sad and the flavour even sadder.
Storage and Reheating
Room temp:
Keep them in an airtight tin or jar on the counter for 4–5 days. They’ll go a bit softer after day three but still tasty.
Fridge:
Wrapped in a plastic bag or container, they’ll last 2–3 weeks chilled. Give them a quick oven blast to crisp up again.
Freezer:
Freeze raw or baked. If raw, shape and freeze flat on trays before bagging. Baked ones just need defrosting and reheating at 350°F for 5–8 mins.
Reheating:
Oven’s best for crispness (350°F, 5–10 mins). Air fryer works too. Microwave? Meh. Use only in emergencies.
Frequently Asked Questions
Can I use puff pastry instead?
That’s a different beast, but yes — puff pastry makes a flakier, lighter cheese straw. This one’s more buttery biscuit-style.
Do I have to use a cookie press?
Not at all! Roll and slice strips, or use a piping bag. Ugly straws still taste fabulous.
Can I freeze the dough?
Yes! Shape first if you can, then freeze flat. Saves time later.
Can I make them gluten-free?
You can try with a 1:1 gluten-free flour blend, but results vary. They might be a tad softer.
Nutrition Facts (Per Serving):
- Calories: 150
- Fat: 11g
- Carbs: 9g
- Protein: 6g
- Sodium: 210mg
- Sugar: 0g
Try More Mary Berry Recipes:
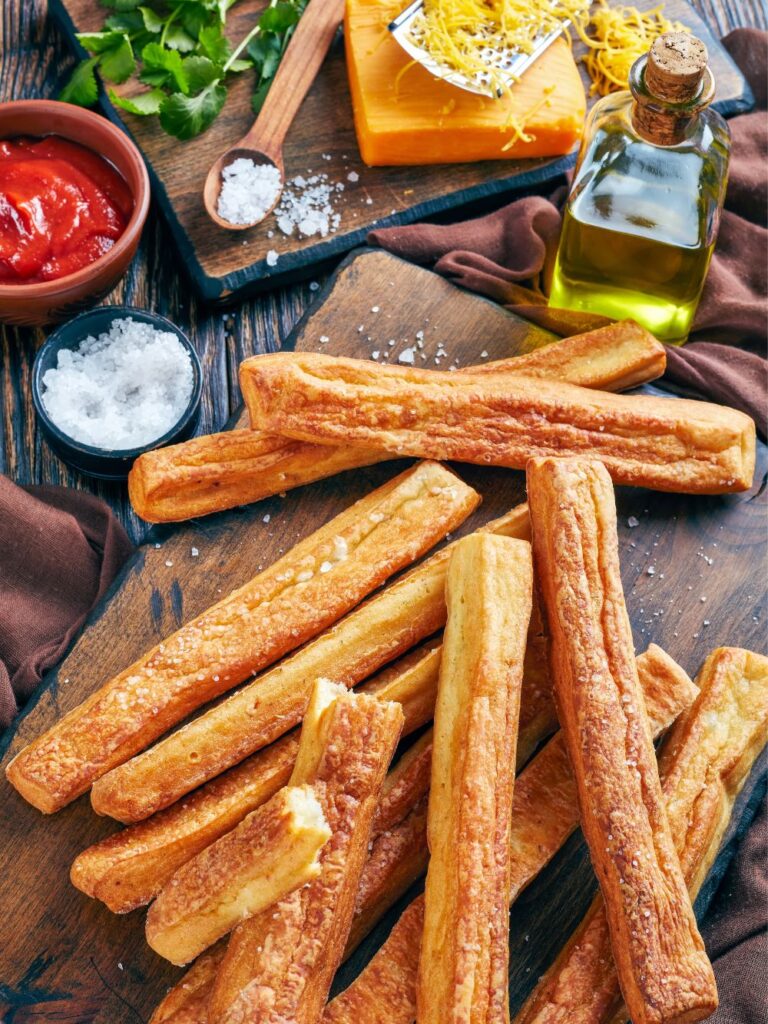

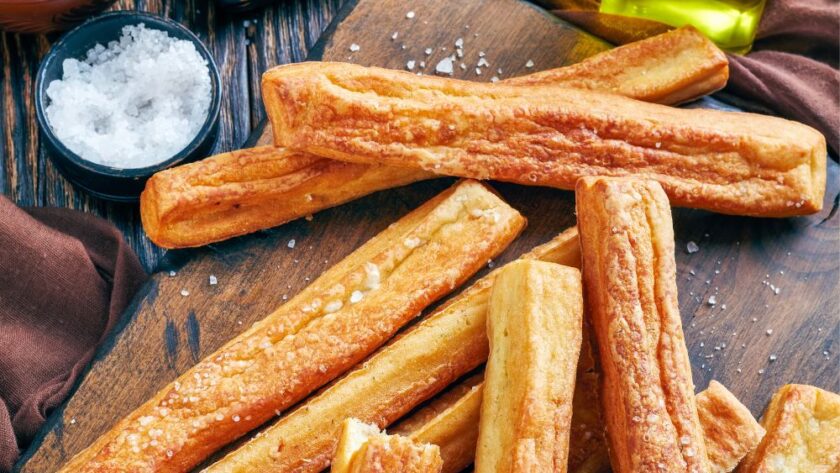
Mary Berry Cheese Straws
Description
Crisp, buttery cheese straws spiced with red pepper and paprika — a golden, crunchy bite perfect for parties or tea.
Ingredients
Instructions
- Beat butter, cheese, salt, pepper, and paprika until smooth.
- Slowly mix in flour until just combined.
- Pipe or roll into ribbons or strips.
- Place on parchment-lined trays.
- Bake at 350°F for 10 mins, until lightly golden.
- Cool on wire racks before storing or serving.
Notes
- Cool on wire racks before storing or serving.
- Let dough warm slightly if it’s too stiff to pipe.
- Don’t overbake — they’ll crisp more as they cool.
- Freeze shaped dough for quick-bake nibbles later.