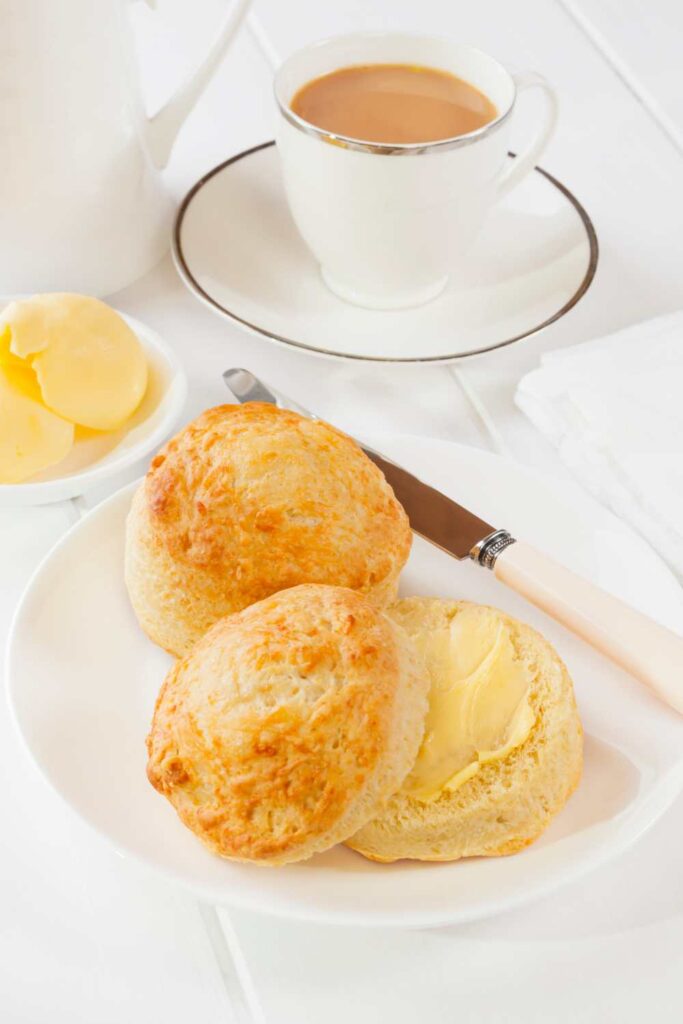
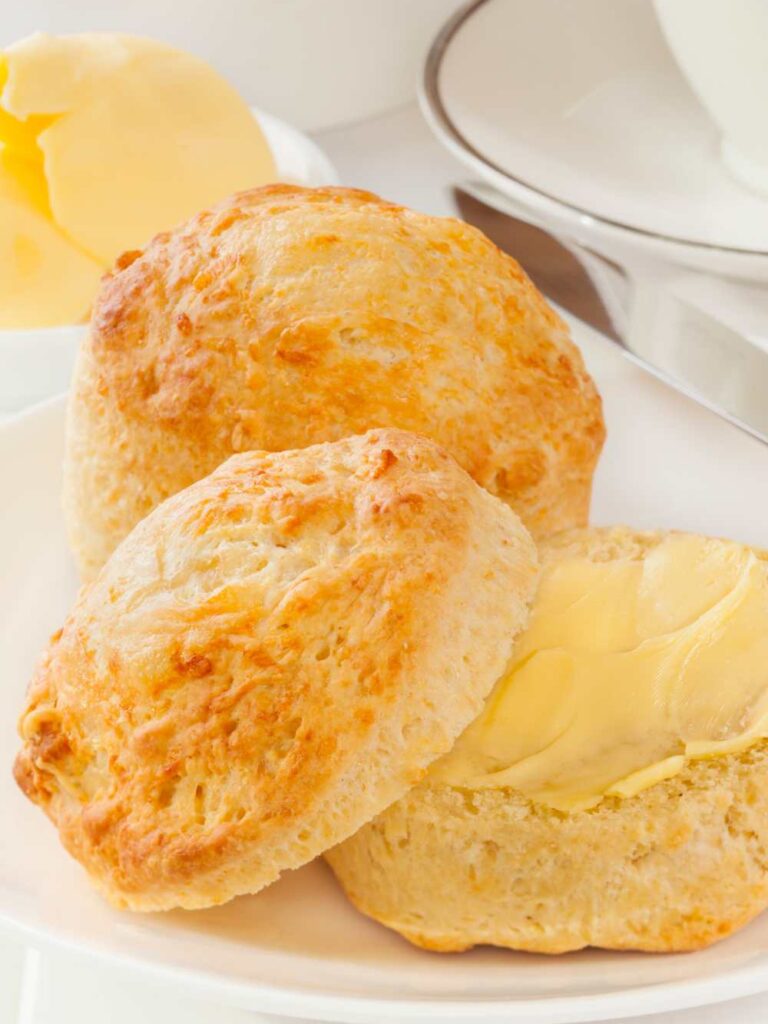
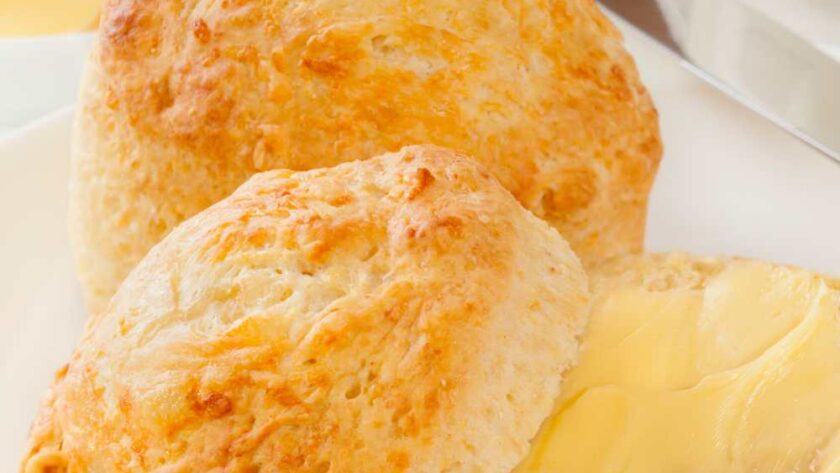
There’s a particular kind of joy in baking scones — maybe it’s the way they puff up in the oven, or the way the smell of melted cheese creeps into every corner of the kitchen. But for me, it’s the quiet moment of splitting one open, butter melting into the steam, and taking that first warm bite. No ceremony. Just proper, buttery, savoury goodness.
I started making these cheese scones on grey Sunday afternoons, usually when there was a half block of cheddar hanging about and I couldn’t face another sandwich. The original recipe is from Mary Berry — of course it is — but over the years, I’ve made it a bit more me. Sometimes I add extra mustard powder. Sometimes I don’t measure the cheese exactly. And they always disappear faster than expected.
These aren’t the posh, dainty sort of scones you serve with clotted cream and jam. They’re the hearty, golden, can’t-stop-eating-them kind. And frankly, that’s better.
Why You’ll Love It
- You only need about 6 ingredients and 30 minutes — no faff
- Cheddar + mustard = flavour heaven (especially when still warm)
- Perfect with a bowl of soup, or just butter and a cup of tea
- The dough is forgiving — honestly hard to mess up
- They freeze well, which is dangerous in the best way
- That smell while they’re baking? Worth it alone
Ingredients
- 250g (2 cups) self-raising flour
- A pinch of salt
- 60g (¼ cup) cold butter, cubed
- 125g (1 cup) grated cheddar cheese, plus extra for topping
- ½ teaspoon mustard powder (or more if you like it punchy)
- 1 egg
- About 150ml (⅔ cup) milk
How to Make It
Rub the butter in (cold hands help):
Tip your flour into a mixing bowl and add the salt. Add the butter and rub it in with your fingertips until it looks like lumpy breadcrumbs. A few bigger bits of butter are fine — they help the scones rise flakier.
Stir in the flavour:
Add the grated cheese and mustard powder. Stir it all around with your hands or a fork — either works. Try not to snack on the cheese at this stage. Or do. No judgment.
Bring the dough together:
Crack your egg into a jug and top up with milk until it hits 160ml. Pour most of it into the dry mix — hold back a splash for brushing the tops. Use a butter knife to mix it gently until it just comes together. It should feel soft but not sticky.
Pat, don’t roll:
Tip the dough onto a floured surface. Lightly pat or press it out to about 2cm thick — don’t roll it like pastry. You want to keep that lovely airiness.
Cut your rounds:
Use a cutter or glass to cut out your scones. Don’t twist the cutter — press straight down. Twisting seals the edges and can stop them rising properly. Learned that the hard way.
Top and bake:
Place the scones on a lined baking tray. Brush the tops with the leftover egg-milk mix and sprinkle with a little more grated cheese. Bake at 200°C (about 400°F) for 12–15 minutes, until golden and puffed.
Cool slightly (or don’t):
Let them sit for 5 minutes before eating, if you’ve got the patience. Best served warm, ideally with a thick smear of salted butter.

Common Mistakes and How to Dodge Them
Why didn’t they rise much?
Check your self-raising flour isn’t old — that stuff loses its power over time. Also, be gentle with the dough and avoid overworking it.
They’re dry. What went wrong?
Probably too much flour or not enough liquid. Next time, go easy with the flour when shaping. The dough should feel soft — not dry, not sticky.
My cheese vanished!
If you grated it really fine, it might’ve just melted into the dough. Not a tragedy, but for more cheesy chunks, go for a coarser grate.
They came out bland.
Use a sharper cheddar, and don’t skip the mustard powder. It doesn’t make it spicy — it just wakes up the flavour.
Storage and Reheating
Room Temp:
Store them in an airtight tin for 2–3 days. But honestly, they’re best fresh.
Freezer:
Yes! Let them cool, wrap in cling film, and freeze in a bag or box. To use, thaw and then reheat in the oven for 5–7 minutes at 180°C (350°F).
Reheating:
Oven: Best for getting the outside crisp again.
Microwave: Fine in a pinch, but they’ll be softer. Wrap in a damp paper towel and go for 20–30 seconds.
Frequently Asked Questions
Can I skip the egg?
You can — just replace with a bit more milk. The scones won’t be as rich, but they’ll still be tasty.
What’s the best cheese to use?
A good, sharp cheddar is perfect. Mild ones won’t give you much flavour, so don’t be shy with a mature block.
Can I add herbs or extras?
Yes! Chives, a pinch of smoked paprika, even chopped sun-dried tomatoes work. Just don’t overdo it or the dough gets fussy.
Why is the dough so sticky?
You might’ve added all the liquid too fast. Add it gradually and stop when it just comes together — it’s easier to add more than take away.
Nutrition Facts (Per Serving):
- Calories: 250
- Fat: 12g
- Carbs: 25g
- Protein: 8g
- Sodium: 300mg
- Sugar: 1g
Try More Mary Berry Recipes:
- Mary Berry Ginger Biscuits
- Mary Berry Strawberry Shortcake Recipe
- Mary Berry Soft Bread Rolls Recipe

Mary Berry Cheese Scones
Description
Fluffy, golden cheese scones with a savoury kick — easy, comforting, and straight from the oven in half an hour.
Ingredients
Instructions
- Rub butter into flour and salt until crumbly.
- Stir in cheese and mustard.
- Mix egg and milk, add to form soft dough (hold some back for brushing).
- Pat dough to 2cm, cut rounds with cutter.
- Brush tops with egg mix, sprinkle with cheese.
- Bake at 200°C for 12–15 mins until golden.
Notes
- Don’t twist your cutter — it stops the rise
- Use cold butter and don’t overmix the dough
- Sharp cheddar gives the best flavour
- Freeze extras and reheat straight from frozen


Very nice! I added a little Cayenne pepper to the mix. Will make again.
That’s wonderful to hear! 😊 Adding a bit of Cayenne pepper sounds like a fantastic touch for an extra kick of flavor. Can’t wait to hear how your next batch turns out! Happy cooking! 🍽️🌶️👩🍳