
When I was little, Sundays meant scones. Always. Rain or shine, my nan would tie on her worn floral apron, flick the kettle on, and rustle up a batch of crumbly fruit-studded scones that filled her little cottage with the smell of something warm and lovely.
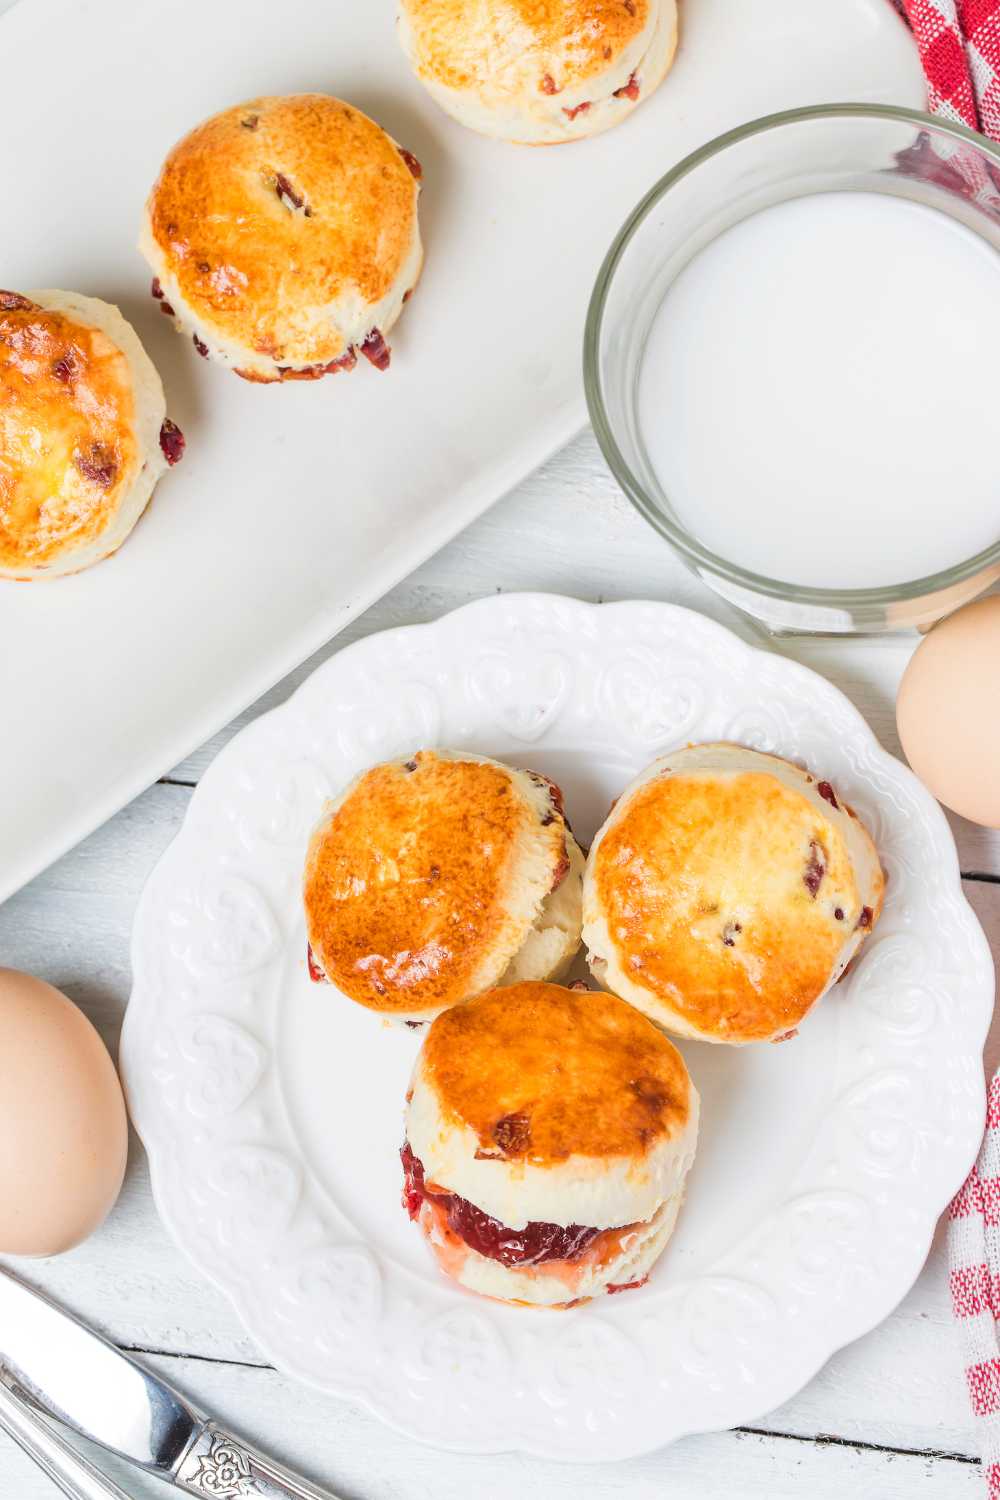
Now that I’ve got friends (and a teenager) who are gluten-sensitive, I wanted to bring that same comfort to a recipe that everyone can enjoy — no compromise on taste or texture. These Mary Berry Gluten Free Fruit Scones are just that: soft, tender inside, with golden tops and sweet, chewy raisins if you like them. They’re everything a proper British scone should be — just without the gluten.
I’ve followed Mary Berry’s structure but tweaked it slightly to work beautifully with gluten-free flour. Whether you’re serving them up for afternoon tea, a cosy brunch, or just need something to warm your soul, this one’s for you.
Ingredients List
- 350g gluten free self-raising flour
I always go for FREEE by Dove’s Farm — it gives reliable rise and a light crumb. - 2 tsp gluten free baking powder
Helps compensate for the lack of gluten. - 1 tbsp caster sugar
Just a touch of sweetness, not overpowering. - ½ tsp xanthan gum
This holds everything together and mimics gluten’s binding magic. Don’t skip unless your flour already has it. - ½ tsp fine salt
- 100g cold unsalted butter, cubed
The colder, the better — this is what gives you those lovely layers. - 120ml semi-skimmed milk
You can use any milk, really — full-fat gives a slightly richer taste. - 2 medium eggs
One goes into the dough, the other’s for that beautiful shiny top. - Optional: 100g raisins
Classic and chewy. Or swap in dried cranberries, chopped dates, or nothing at all if you’re anti-fruit (I won’t judge — much).
How To Make It (Instructions)
- Preheat the oven to 200°C fan (that’s 220°C standard / 425°F). Line a baking tray with greaseproof paper. Do this first — I always forget and end up elbow-deep in dough with nowhere to put it.
- In a big bowl, whisk together the flour, baking powder, sugar, xanthan gum, and salt.
- Add your cold butter, cut into cubes. Use your fingertips to rub it into the dry mix until it looks like fine breadcrumbs. Don’t melt the butter with your palms — quick and light is the trick here.
- If you’re adding raisins, pop them in now and give the mix a little toss.
- Beat two eggs in a jug, then stir in the milk. Slowly pour this into your flour mix, stirring as you go.
- Now, get your hands in and gently bring it all together. The dough should be soft but not sticky. If it feels dry or crumbly, add a splash more milk. Too sticky? A dusting more flour.
- Lightly flour your surface and gently press (or roll) the dough to about 3cm thick. Thicker is better — gluten-free scones don’t rise quite as much as regular ones.
- Use a 6–8cm cutter to cut out rounds. Dip it in flour each time so it doesn’t stick. Don’t twist the cutter — straight down and up for a clean edge and better rise.
- Place your scones on the tray. Beat the extra egg and brush the tops. This is what gives them that golden glow.
- Bake for 15–18 minutes. They should be risen and lightly golden. Whatever you do, don’t open the oven early. I’ve done it and ended up with sad little biscuits.
- Let them cool slightly, or dive in while warm with clotted cream and jam. A proper brew on the side is non-negotiable.

Common Mistakes
Why are my scones dry?
You may have added too much flour or not enough liquid. Gluten-free flour soaks up more — add milk bit by bit until the dough feels right.
Why didn’t they rise much?
They need to be thick before baking. If you roll them thin, they won’t puff up. Also, check your baking powder isn’t out of date.
Why are they rubbery?
Overmixing! I used to knead gluten-free dough like bread. Don’t do that. Mix just until it comes together.
Why did they spread instead of rise?
Probably too much liquid or your dough was too warm. Chill it briefly before baking if your kitchen’s hot.
Can I skip the xanthan gum?
Not unless your flour blend already includes it. It really helps with texture and shape.
Storage And Reheating Tips
- Room Temperature:
Store in an airtight tin for 2–3 days. They’re best fresh, but still good lightly toasted after a day. - Freezer:
Freeze once cooled — wrap each in cling film or a freezer bag. Keeps well for up to 3 months. - To Reheat:
- Microwave: Wrap in a damp paper towel. 20 seconds on high.
- Oven: 160°C for 8–10 minutes, wrapped in foil.
- Air Fryer: 150°C for 3–5 minutes. Lovely texture.
What To Serve With It
- Clotted cream & strawberry jam
That’s the classic combo. I put jam first, cream second — and yes, that’s the Cornish way. - Lemon curd
For a zesty twist — bright and silky. - Blackberry compote
Especially nice if you’re skipping the raisins. A little tangy, a little wild.
And always, always a cup of tea. Earl Grey, English Breakfast, or just a strong builder’s brew.
FAQ Section
Can I make these dairy-free too?
Yes! Use a dairy-free butter block (like Flora Plant) and a plant-based milk — oat or almond works best. The texture might be slightly softer but still delicious.
Can I freeze them before baking?
You can! Cut them out and freeze raw. Bake from frozen, adding 3–4 minutes to the cooking time.
What flour should I use for best results?
A gluten-free self-raising blend is ideal. One with rice flour, potato starch, and a binder like xanthan or guar gum works best.
Can I skip the raisins or use something else?
Absolutely. Try dried cranberries, chopped dates, or even lemon zest for a fresh twist.
Try More Recipes:

Mary Berry Gluten Free Fruit Scones
Description
Light, fluffy gluten-free scones with sweet raisins — perfect for afternoon tea or a comforting homemade treat.
Ingredients
Instructions
- Preheat oven to 200°C fan. Line a baking tray.
- Mix flour, baking powder, sugar, xanthan gum, and salt in a bowl.
- Rub in the cold butter until the mix looks like breadcrumbs.
- Stir in raisins if using.
- Beat eggs with milk and add gradually to the dry mix.
- Bring together into a soft dough.
- Roll or press to 3cm thick on a floured surface.
- Cut rounds with a floured cutter.
- Place on tray and brush tops with beaten egg.
- Bake for 15–18 minutes until golden.
- Serve warm or let cool completely.