There’s something comforting about making pancakes from scratch.
Bero Pancakes are that kind of recipe — simple ingredients, no tricks, just a big plate of golden, fluffy goodness waiting for you.
Perfect for lazy Sundays, rushed mornings, or honestly, any time you need a little stack of joy.
Why These Pancakes Work So Well
The secret’s in the basics.
Fresh baking powder gives the batter real lift without needing a heavy hand.
A gentle mix keeps the batter loose and light, trapping tiny air pockets that puff up when they hit the heat.
And a splash of melted butter makes sure they stay tender instead of dry.
Ingredients (And Why They Matter)
- All-Purpose Flour: Just the right strength for structure without making them chewy.
- Baking Powder: Fresh baking powder = proper lift and fluff.
- Salt: A pinch sharpens up all the other flavors.
- Sugar: Just a little for a hint of sweetness.
- Milk: Thins the batter to that perfect pourable consistency.
- Eggs: Bind the batter and help create a tender crumb.
- Melted Butter: Adds richness and a soft mouthfeel.
How to Make It
1. Mix the Dry
In a big bowl, whisk together:
- 200g all-purpose flour
- 1 tablespoon baking powder
- A pinch of salt
- 1 tablespoon sugar
2. Mix the Wet
In the center of the dry ingredients, make a little well.
Pour in:
- 300ml milk
- 2 large eggs
- 50g melted butter
Whisk gently from the middle outwards, pulling flour in as you go.
The batter should feel thick but pour easily — like heavy cream.
Pro Tip: Lumps are fine. Overmixing kills the fluff.
3. Cook the Pancakes
Heat a nonstick pan or griddle over medium heat.
Once hot, pour in a ladleful of batter for each pancake.
Cook 2–3 minutes, until bubbles form on top and the edges look set.
Flip carefully.
Cook the other side for another 1–2 minutes, until golden and cooked through.
Pro Tip: Resist pressing them down with the spatula — let them rise naturally.
4. Keep Them Warm
Stack finished pancakes on a warm plate under a clean tea towel while you cook the rest.
Serve hot, with whatever toppings you fancy.
Common Mistakes and How to Fix Them
| What Went Wrong | Why It Happens | How to Fix It |
|---|---|---|
| Pancakes dense or tough | Batter overmixed | Stir gently, stop when just combined |
| Pancakes flat and thin | Old baking powder | Always use fresh baking powder |
| Pancakes dry | Pan too hot or batter too thick | Lower the heat, thin batter slightly if needed |
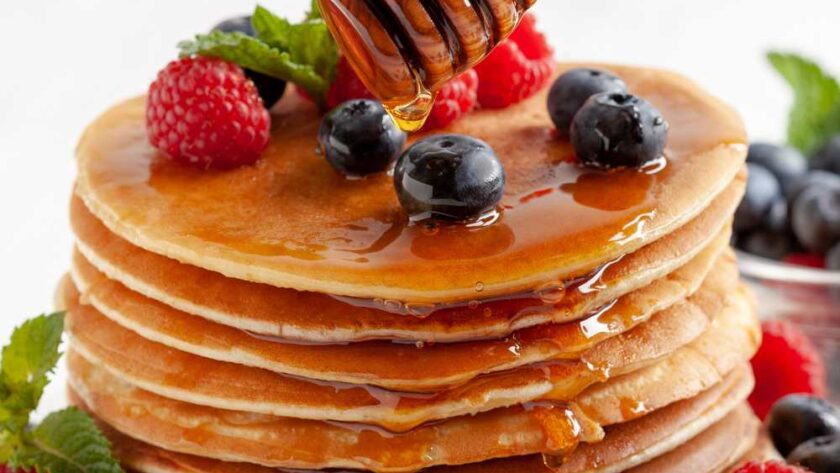
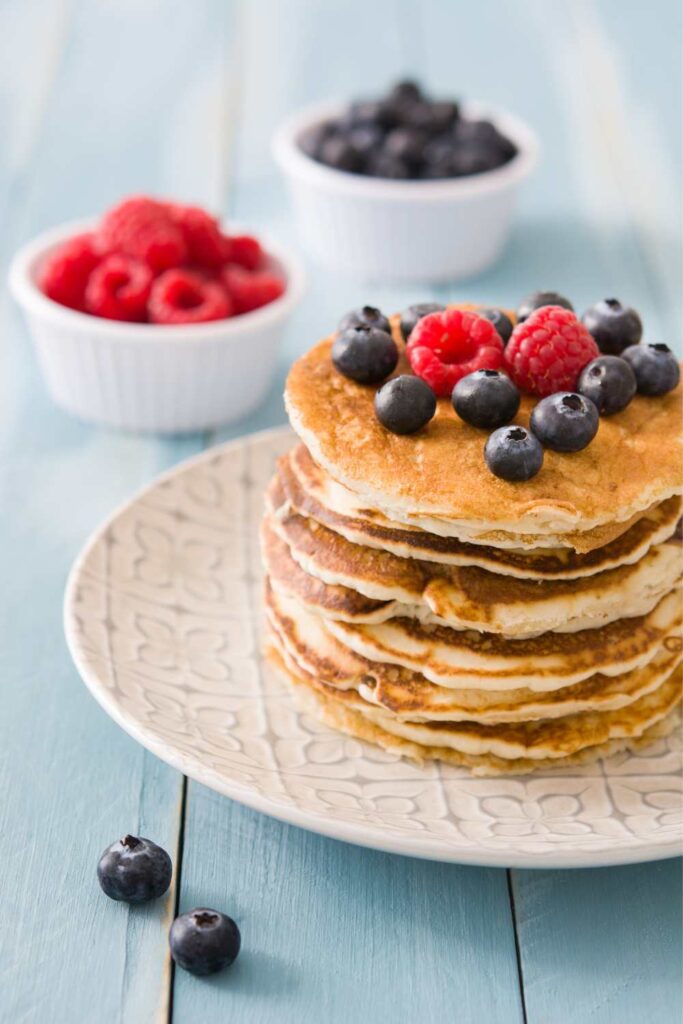
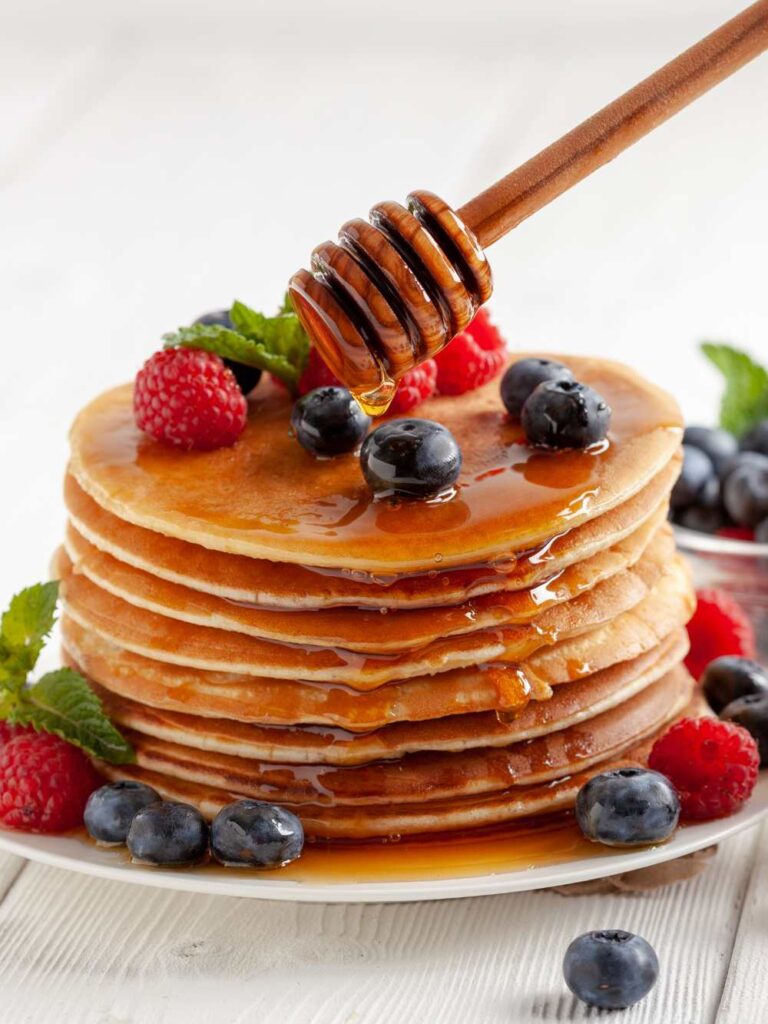
What to Serve With It
- Classic maple syrup and butter
- Fresh berries and a dusting of powdered sugar
- Nutella or peanut butter drizzle
- Greek yogurt and honey for something lighter
How to Store and Reheat
Fridge:
Cool completely, then layer pancakes with parchment paper and keep in an airtight container for 2–3 days.
Freezer:
Freeze on a tray first, then pack into freezer bags. Keeps well for up to 2 months.
Reheat:
- Microwave: Cover with a damp paper towel and heat 20–30 seconds.
- Oven: Cover with foil, 175°C (350°F), 5–10 minutes.
- Toaster: Toast on low for a crispy edge.
A Quick Bite of History
Bero recipes have been trusted for over 100 years, starting with simple British home baking that anyone could do with basic cupboard ingredients.
Their pancake recipe is no different — proof that sometimes, the old ways really are the best.

Bero Pancake Recipe
Description
The Bero Pancake Recipe makes light, fluffy pancakes using basic ingredients like flour, baking powder, milk, eggs, and butter. Perfect for quick breakfasts, brunch spreads, or lazy weekend mornings.
Ingredients
Instructions
- Whisk flour, baking powder, salt, and sugar in a large bowl.
- Make a well, pour in milk, eggs, and melted butter.
- Whisk gently from center outward until just combined.
- Heat a nonstick pan over medium heat.
- Pour batter into pan, cook 2–3 minutes until bubbles form.
- Flip, cook another 1–2 minutes until golden.
- Stack finished pancakes on a warm plate.
- Serve hot with your favorite toppings.
Notes
- Let the batter rest for 10 minutes if you have time — helps with fluffiness.
- Lumps are okay — don’t beat the air out.
- Always heat the pan properly first for the best rise.
- Customize with berries, chocolate chips, or chopped nuts stirred into the batter.